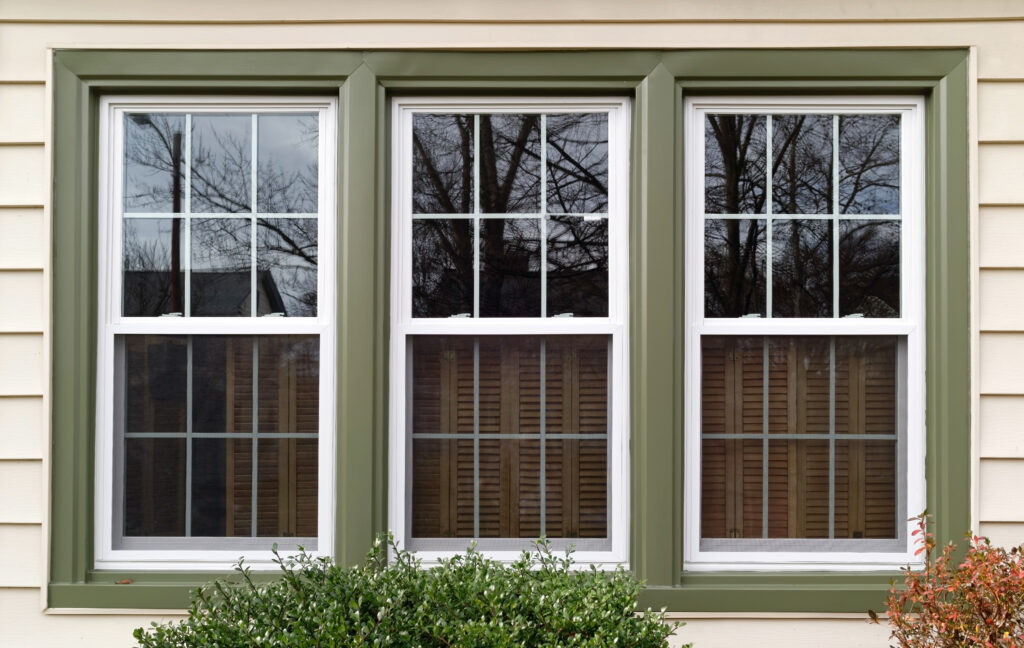
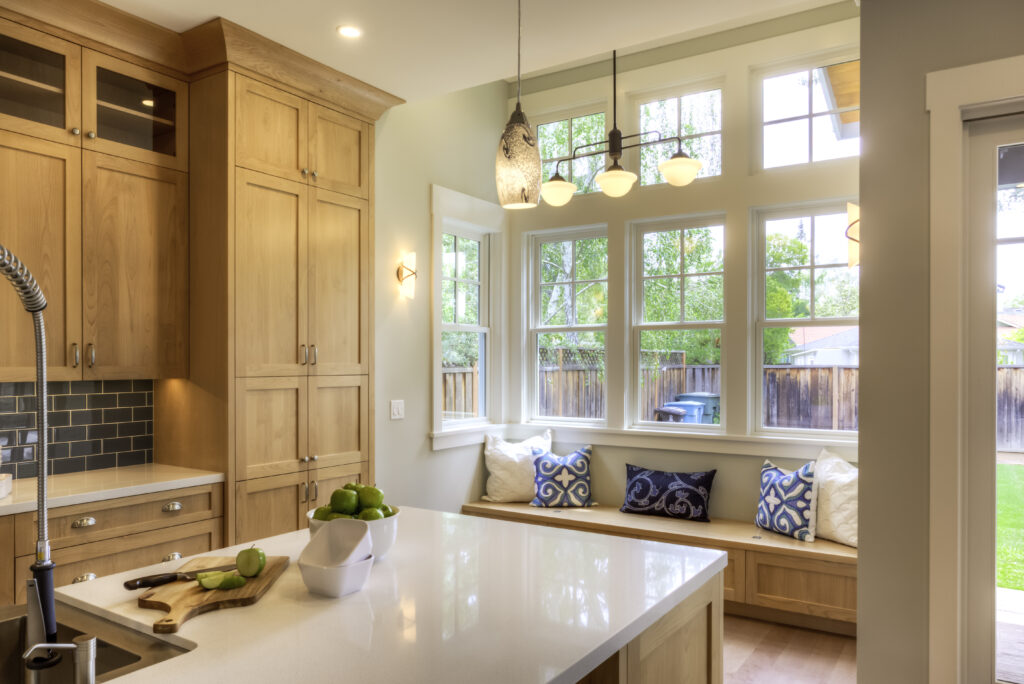
Have you ever looked at your window trim and thought it could use a fresh coat of paint? Painting window frames and window trim can significantly improve the look of your home — from brightening up a room with fresh interior window trim to improving the curb appeal of your exterior windows.
How do you paint window frames and trim like a pro? Achieving a professional finish requires mastering the right techniques and using high-quality materials. Follow our step-by-step guide to get it done right.
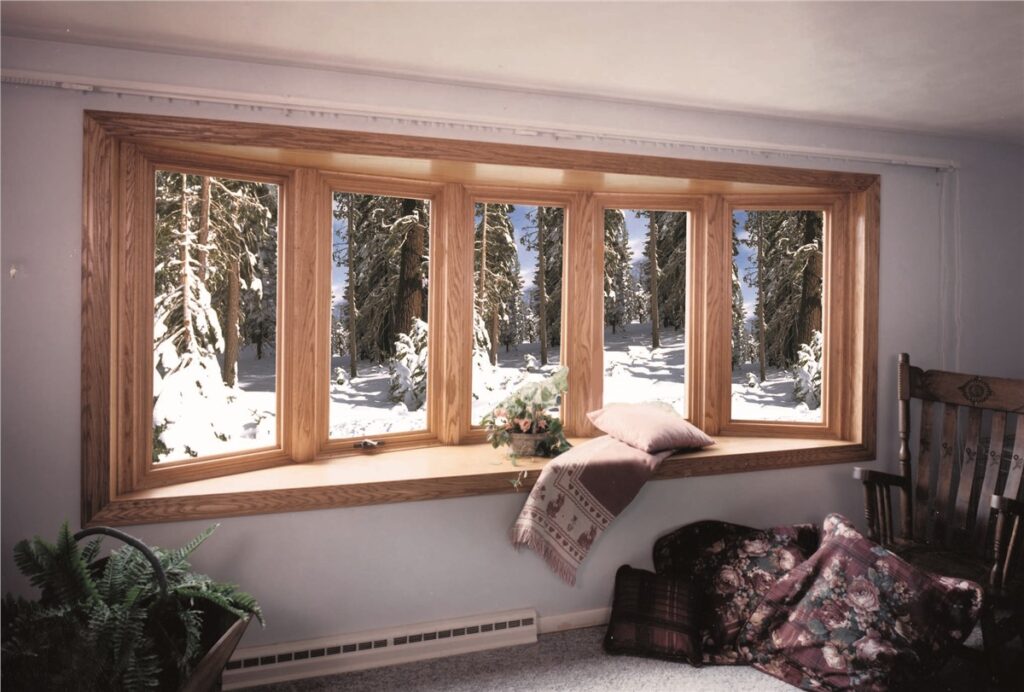
Wood Windows
Wood windows and window trim offer a timeless elegance that adds warmth and character to any home. It is common knowledge that wood is porous, which means it absorbs paint differently depending on its condition and the environment. This makes selecting the right paint a must, especially for exterior wood trim that typically endures changing weather conditions.
Your paint choice will depend on whether you’re working on interior or exterior windows. Exterior wood faces more exposure to the elements, so it needs a more durable finish. Below are the best paint options for wood trims:
- Interior wood trim: For indoor spaces, a high-quality latex gloss paint is your best bet. Its durable finish can withstand everyday wear and tear, while its washable surface makes cleaning a breeze. Latex paint is also quick-drying, making it ideal for projects that need to be completed on a tight schedule.
- Exterior wood trim: Since exterior window trim is constantly exposed to sunlight, rain, and temperature fluctuations, go for oil-based or acrylic gloss paints that have better weather protection. Oil-based paints are known for their durability and ability to protect wood from moisture, while acrylic gloss paints are fade-resistant and better suited for climates with intense sun exposure.
- Medium-density fiberboard (MDF): MDF is often used for window trim and requires special attention to prevent absorption issues. Latex gloss paint works best here, providing a smooth, even finish without soaking into the surface unevenly.
How to Paint Wood Windows
- Clean the frames: Start by thoroughly cleaning the wood surface. Use a cleaner containing mildewcide to remove dirt, grease, and mold. Pay close attention to corners and grooves, as these areas tend to trap dirt. Wipe the surface with a damp cloth to remove any residue from the cleaner and let it dry completely.
- Inspect and repair: Before you paint window trim made of wood, always fill cracks or holes with wood filler for a smooth finish. Allow the filler to dry fully, then sand the area smooth.
- Prime the surface: A high-quality wood primer seals the surface, preventing the wood from absorbing too much paint and ensuring even coverage. Use a brush or roller to apply the primer, working in long, smooth strokes. Allow the primer to dry completely before moving on to painting.
- Paint the trim: Once the primer is dry, it’s time to paint. Use a fine, angled brush along edges and corners for precise application. On flat surfaces, work in long, smooth strokes to minimize brush marks and achieve a sleek look. Apply thin coats of paint and allow each layer to dry completely before adding the next. This technique prevents drips and ensures the finish is even.
For the best results, sand lightly between coats using 220-grit sandpaper to smooth out any imperfections. This allows the next coat to adhere better. Depending on the color and type of paint, you might have to apply two to three coats for full coverage.
Metal Trim
Metal trim is definitely built for exterior windows, but its smooth surface and potential for rust make painting a little tricky.
When you paint window trim made of metal, the right type of paint matters for durability and weather resistance. The smooth texture of metal requires products specifically designed to adhere to non-porous materials. Additionally, rust protection is a must for exterior applications. With metal trims, your go-to paint options would be:
- Acrylic-based paints: These paints often include rust inhibitors, which help protect the metal from moisture and corrosion. They’re easy to work with and provide a smooth, attractive finish.
- Oil-based paints: Known for their durability, oil-based paints are perfect for metal window trim that needs to withstand harsh weather conditions. They dry harder than acrylic paints, which offers added resilience against scratches and peeling.
How to Paint Metal Trim
- Clean thoroughly: Before you paint window trim, remove dirt, grease, and other debris that can interfere with paint adhesion. Use a rust-removing cleanser to tackle any existing rust spots. For really rusty places, scrub with a wire brush to loosen and remove the rust. Follow this with fine-grit sandpaper to smooth the surface and eliminate flaking paint or imperfections. After cleaning and sanding, wipe the surface with a damp cloth to remove dust and let it dry completely.
- Prime the metal: A metal-specific primer seals the surface, prevents future rust, and creates a durable foundation for the paint. Use a paint brush or foam roller to apply a thin, even coat of primer. Allow it to dry thoroughly according to the manufacturer’s instructions before moving on to painting.
- Paint the trim: When the primer dries, that’s when you start painting. Use a foam roller for flat sections of the window trim, as it provides an even application with minimal brush strokes. For corners and edges, a small angled brush works best to achieve precision.
Apply two thin coats of paint, letting each layer dry completely before adding the next. Thin coats dry faster and reduce the risk of drips or uneven coverage. The second coat provides additional durability and ensures a uniform color and finish.
Aluminum Windows: Is It Possible to Paint Them?
Yes, aluminum windows can be painted, but the process requires careful preparation to achieve a long-lasting and professional finish.
Aluminum windows are a durable and corrosion-resistant choice for many homes, but over time, their appearance can fade or become outdated. Unlike porous surfaces like wood, aluminum’s slick, non-porous texture makes it more difficult for paint to stick, so attention to detail at every step is critical.
Preparing Aluminum Windows for Painting
Before you even think about applying paint, thorough cleaning and surface preparation are once again important. Aluminum windows often accumulate dirt, grease, and grime over time, all of which can interfere with paint adhesion.
- Clean the aluminum: Any remaining debris can compromise the primer and paint application, so don’t skip this step. Wipe the window frames with a degreasing cleaner to remove any buildup. Use a sponge or soft cloth to work the cleaner into the surface and make sure all traces of dirt and oil are eliminated. Once clean, rinse the windows with water and let them dry completely.
- Sand for texture: Aluminum’s natural glossy surface needs to be sanded to create a rough texture that allows the primer to bond. Use 150-grit sandpaper and lightly go over the entire surface, paying special attention to any areas where old paint is peeling. Sanding also helps remove oxidation, which can develop on aluminum over time. After sanding, wipe the frames with a tack cloth to remove dust and debris.
Priming the Surface
Applying the right primer is non-negotiable when painting aluminum windows. Skipping this step or using the wrong primer will lead to peeling and an uneven finish down the line.
Pick a self-etching primer specifically formulated for aluminum or metal surfaces. This type of primer chemically bonds to the aluminum, creating a durable foundation for the paint. Use a small brush or roller to apply a thin, even coat of primer, ensuring all areas are covered. Allow the primer to dry completely according to the manufacturer’s instructions.

Painting Aluminum Windows
Start painting once you’re sure the primer is completely dry. Choose an exterior acrylic paint designed for metal surfaces. This type of paint is weather-resistant and flexible, allowing it to expand and contract with temperature changes without cracking.
Apply the paint in thin, even layers to avoid streaks and drips. For a smooth finish, use a high-quality angled brush for edges and tight corners and a foam roller for flat sections. Then, let each coat dry completely before you start the next layer, typically waiting about 24 hours between coats. For full coverage, it may take up to three coats.
Avoid using dark colors for aluminum windows, especially in areas with intense sunlight. Dark colors absorb more heat, which can lead to warping or distortion of the aluminum over time.
General Tips for Painting Aluminum Windows
Painting aluminum windows can seem like a tough hill to climb, but the right tools and techniques make all the difference. Here are more tips to ensure a flawless finish:
- Work in ideal conditions: Picking a mild day (between 50–80°F and low humidity) to paint window trim outdoors helps ensure the paint cures evenly and avoids peeling. Don’t paint in direct sunlight, as it can cause the paint to dry too quickly and create an uneven finish.
- Use painter’s tape: Protect the surrounding glass and walls with painter’s tape to keep the edges neat and avoid accidental smudges.
- Test the paint: Always test the paint on a small, inconspicuous area first to ensure proper adhesion and color satisfaction.
Vinyl Windows
Important: Before painting vinyl windows, check with your window manufacturer or installer to see if doing so will void the product warranty. Many warranties specifically exclude painted surfaces, even if the correct materials are used. If your windows are under warranty, painting may impact future claims.
If you’ve ever wondered how to paint vinyl windows without peeling or chipping, here’s everything you need to know.
Vinyl windows are popular for many homeowners because they’re tough, low-maintenance, and long-lasting. However, their smooth surface can make painting a bit tricky. Unlike porous materials, vinyl doesn’t naturally bond with standard paints, so you’ll need the right products and have the technique to achieve a professional look.
Choosing the Right Paint for Vinyl Windows
You can’t use just any paint on vinyl. Standard paints might flake or peel over time, leaving your windows looking worse than before. When you paint window trim, choose options designed for vinyl so your hard work pays off with a long-lasting finish. Here’s a list of the best paint types for vinyl windows:
- Acrylic-based paints: Always look for the “vinyl-safe” label. These paints are formulated to adhere to vinyl’s smooth surface.
- UV-resistant paints: Sunlight exposure can fade colors over time. It doesn’t matter what brand of paint you use. However, UV-resistant paints maintain their vibrancy and make the vividness last longer.
- Light colors only: Dark shades absorb heat, which can cause vinyl to warp. Stick with lighter tones to prevent damage.
How to Paint Vinyl Windows
Regardless of the surface you work with, painting requires certain preparations. In the case of vinyl windows, here are the steps you should take:
- Clean the surface: Start by washing the windows with a degreasing cleaner to remove dirt, oils, and any residue that might interfere with adhesion. Once clean, rinse the surface thoroughly and let it dry completely.
- Prepare the surface: Lightly sand the vinyl using 220-grit sandpaper. This creates a slight texture, giving the primer and paint something to grip. After sanding, wipe down the surface with a damp cloth to remove any dust.
- Prime before painting: Apply a vinyl-safe primer evenly across the surface. This step is essential for ensuring the paint adheres properly and prevents flaking. Use a brush or roller for an even application, and let the primer dry fully before moving on to painting.
- Apply the paint: Using a high-quality angled brush or a foam roller, apply two thin coats of paint. Allow each coat to dry thoroughly before adding the next. Thin layers dry faster and are less likely to drip, giving you a cleaner finish.
Conclusion
Painting window trim, whether it’s vinyl, wood, or metal, is a great way to give your home a fresh look and improve its longevity. With the right materials, tools, and techniques, you can achieve professional results that last.
Ready to bring a fresh look to your windows? Contact Mad City Windows today for expert advice and services to transform your home.